


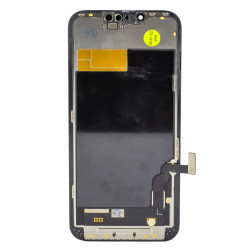
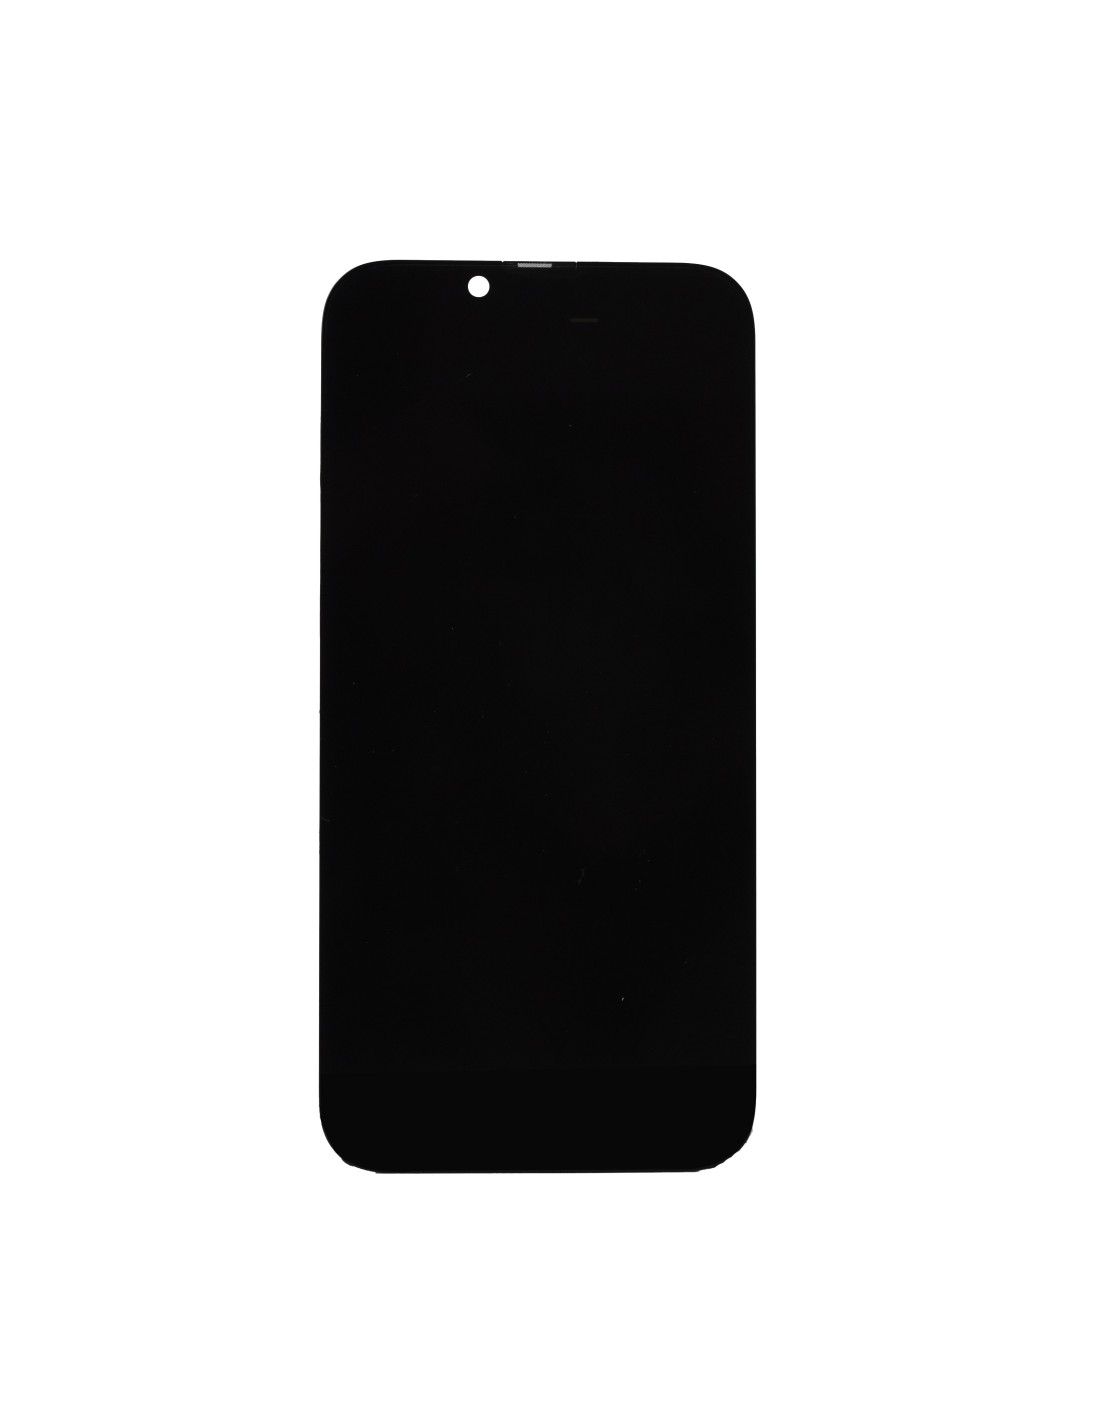
The full high-definition (FHD) resolution ensures your images and videos display razor-sharp precision. Whether you’re streaming videos or browsing through photos, the vivid and crisp visuals transform your everyday screen interaction into a experience.
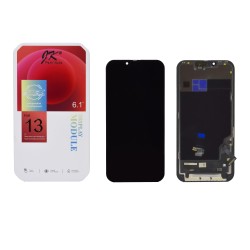
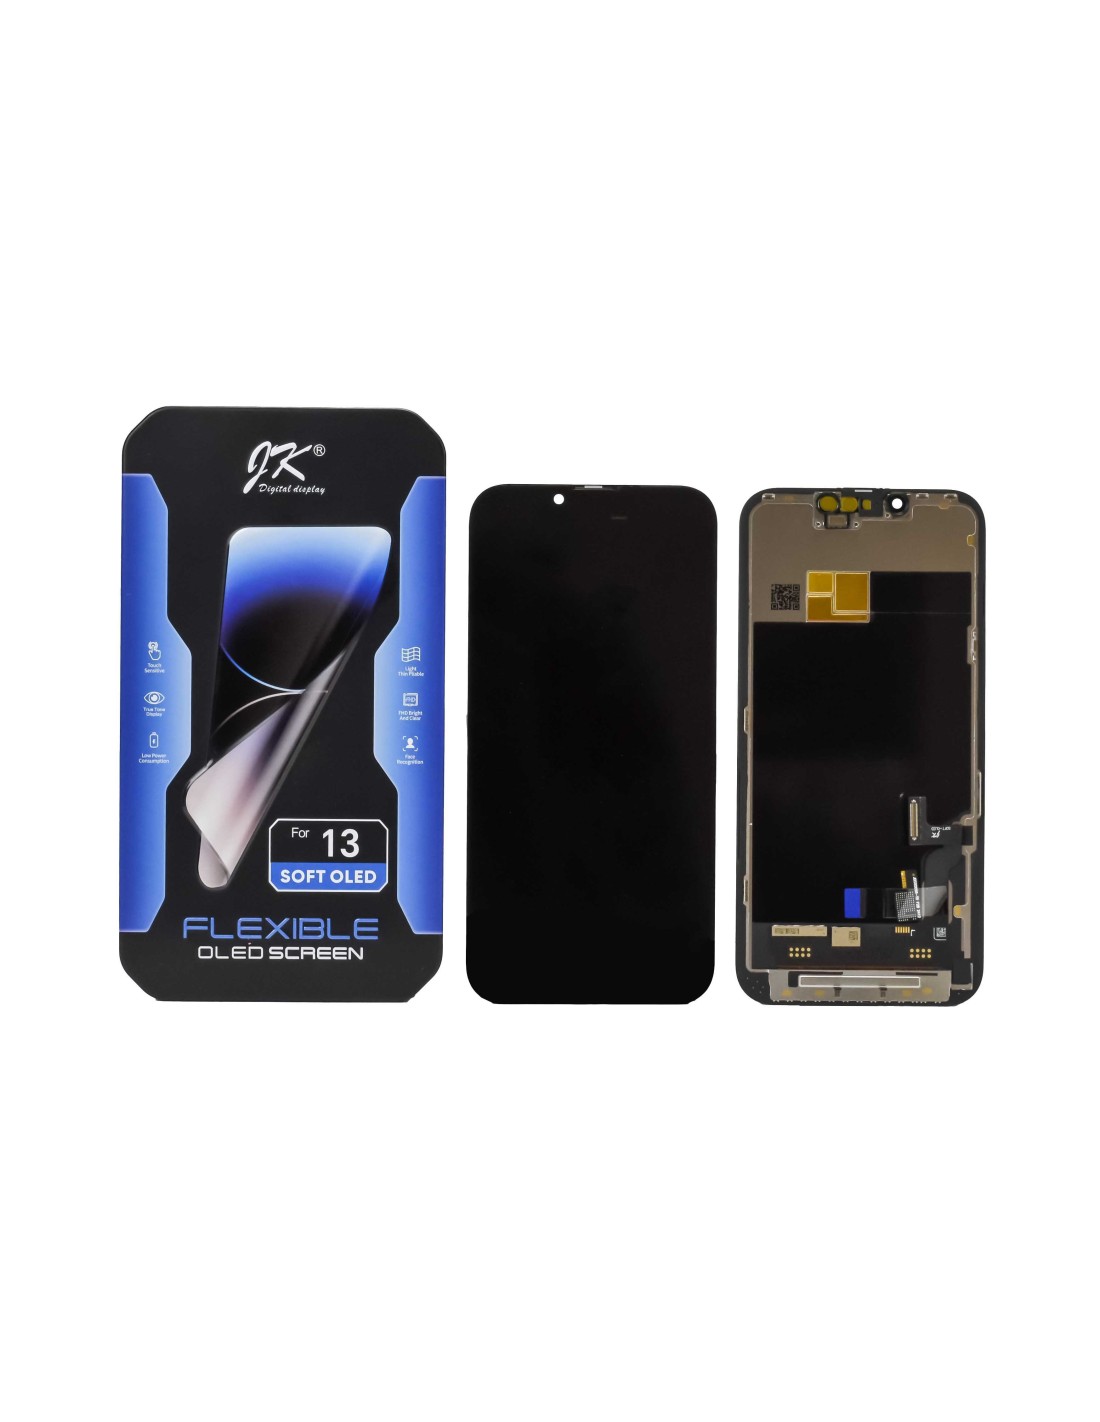
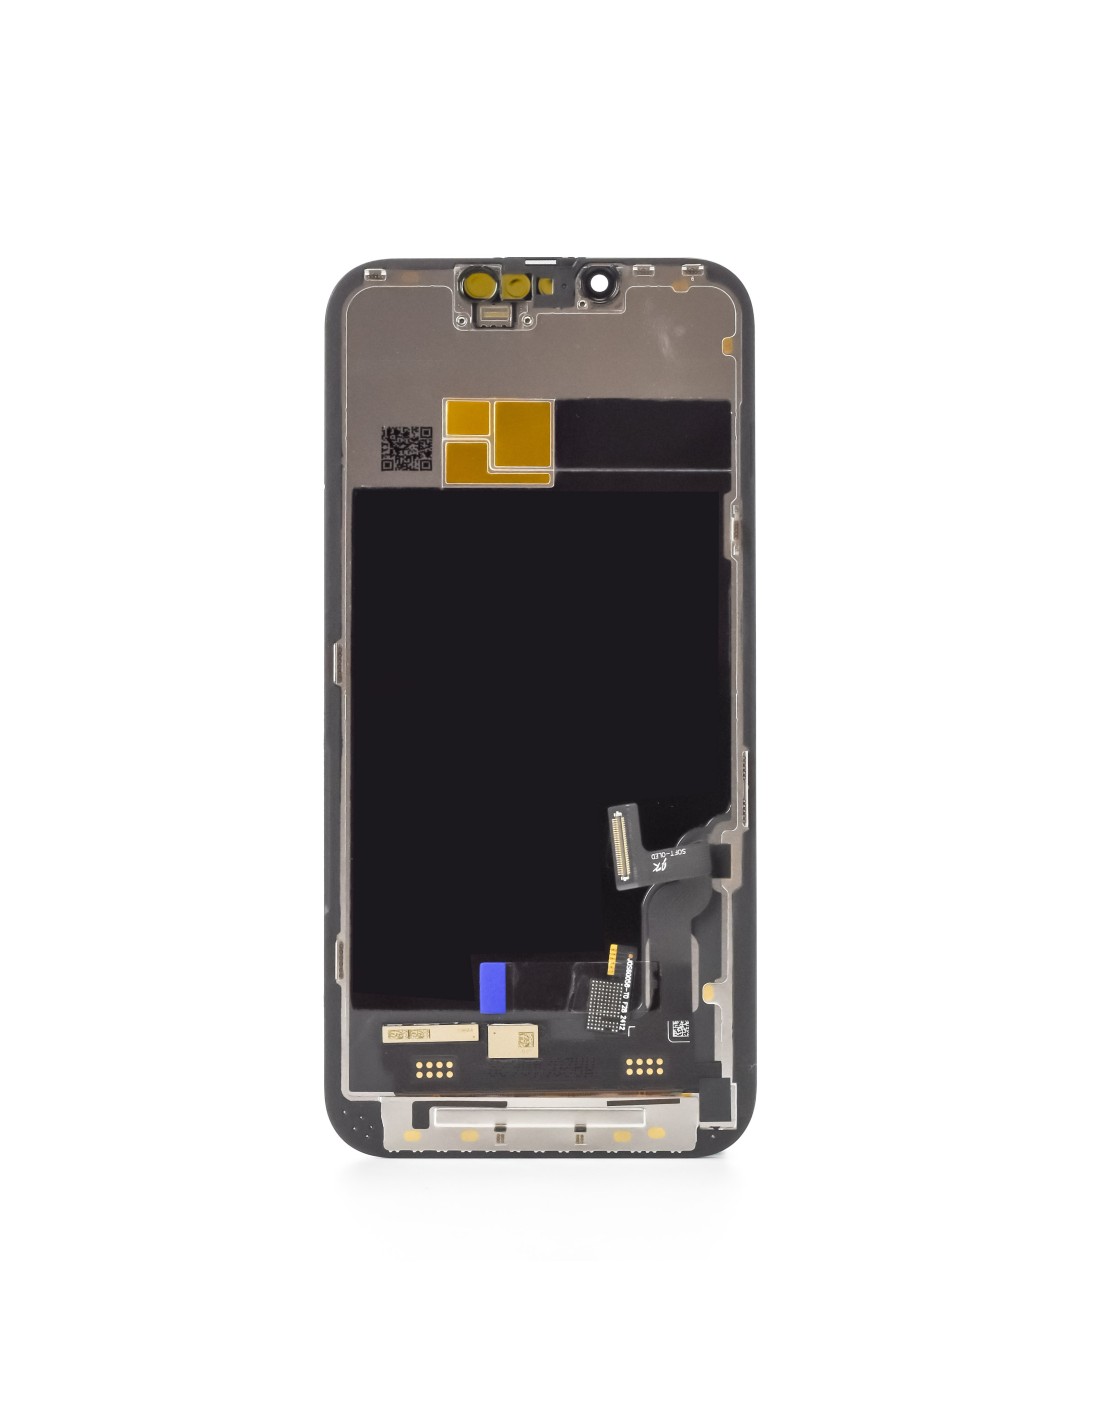
What sets this screen apart is theable integrated circuit (IC), which allows for easier installation. The flexibility of the IC reduces the risk of damages during repairs, letting you the delicate components with greater ease.
For repair shops and refurbishing companies, the efficiency of installation means reduced turnaround time allowing you to serve more clients effectively. This feature alone makes it a valuable choice for professionals who prioritize convenience without compromising on quality.
Enhanced Durability For LongevityDurability meets design with the JK SOFT OLED technology. screen is crafted to withstand the rigors of daily use, providing resistance to minor impacts and scratches. This fosters a longer lifespan, ultimately costs for both repair shops and end-users in the long run.
Furthermore, the screen offers excellent touch sensitivity and responsiveness ensuring that every swipe and tap counts. This feature retains the original feel of the iPhone 13, allowing users to enjoy their device without compromise in performance.
You might also like

