


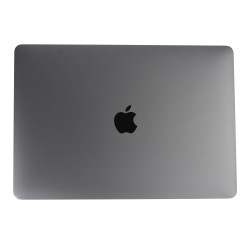
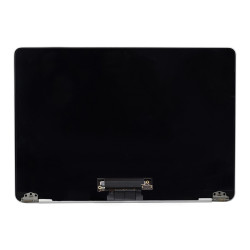
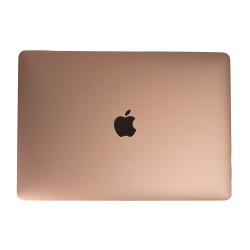
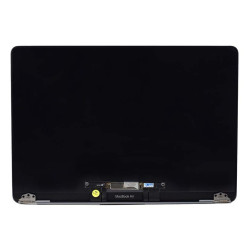
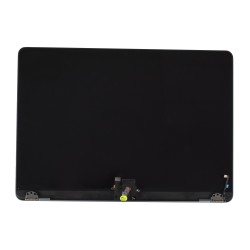
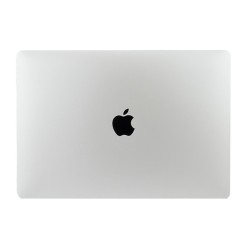
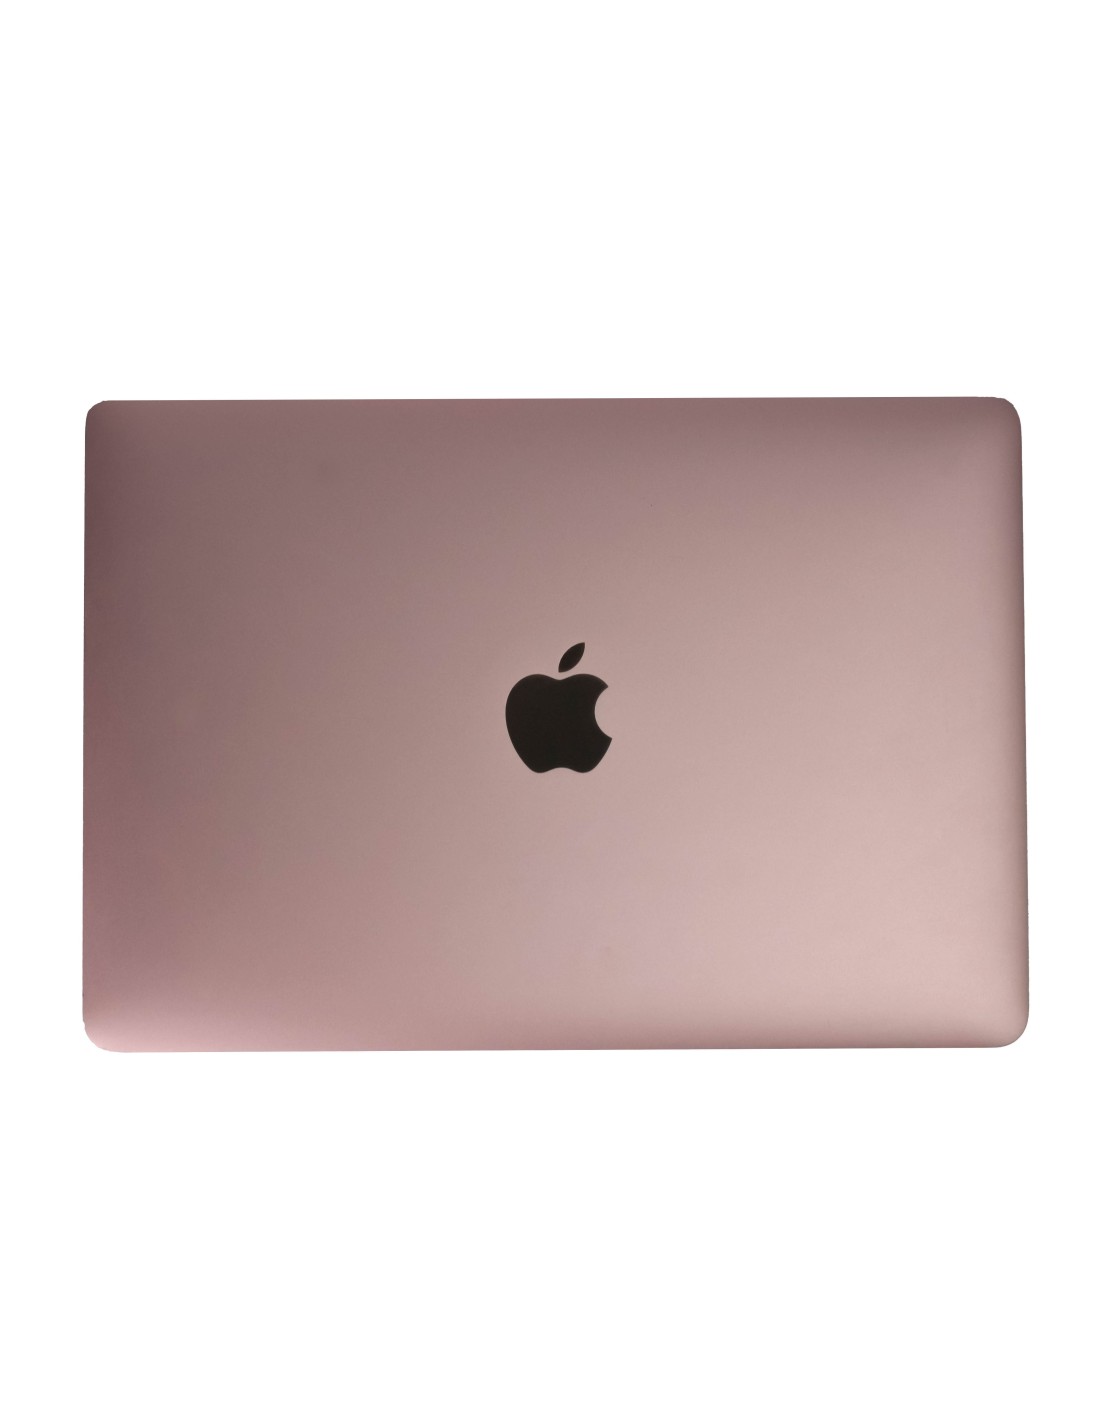
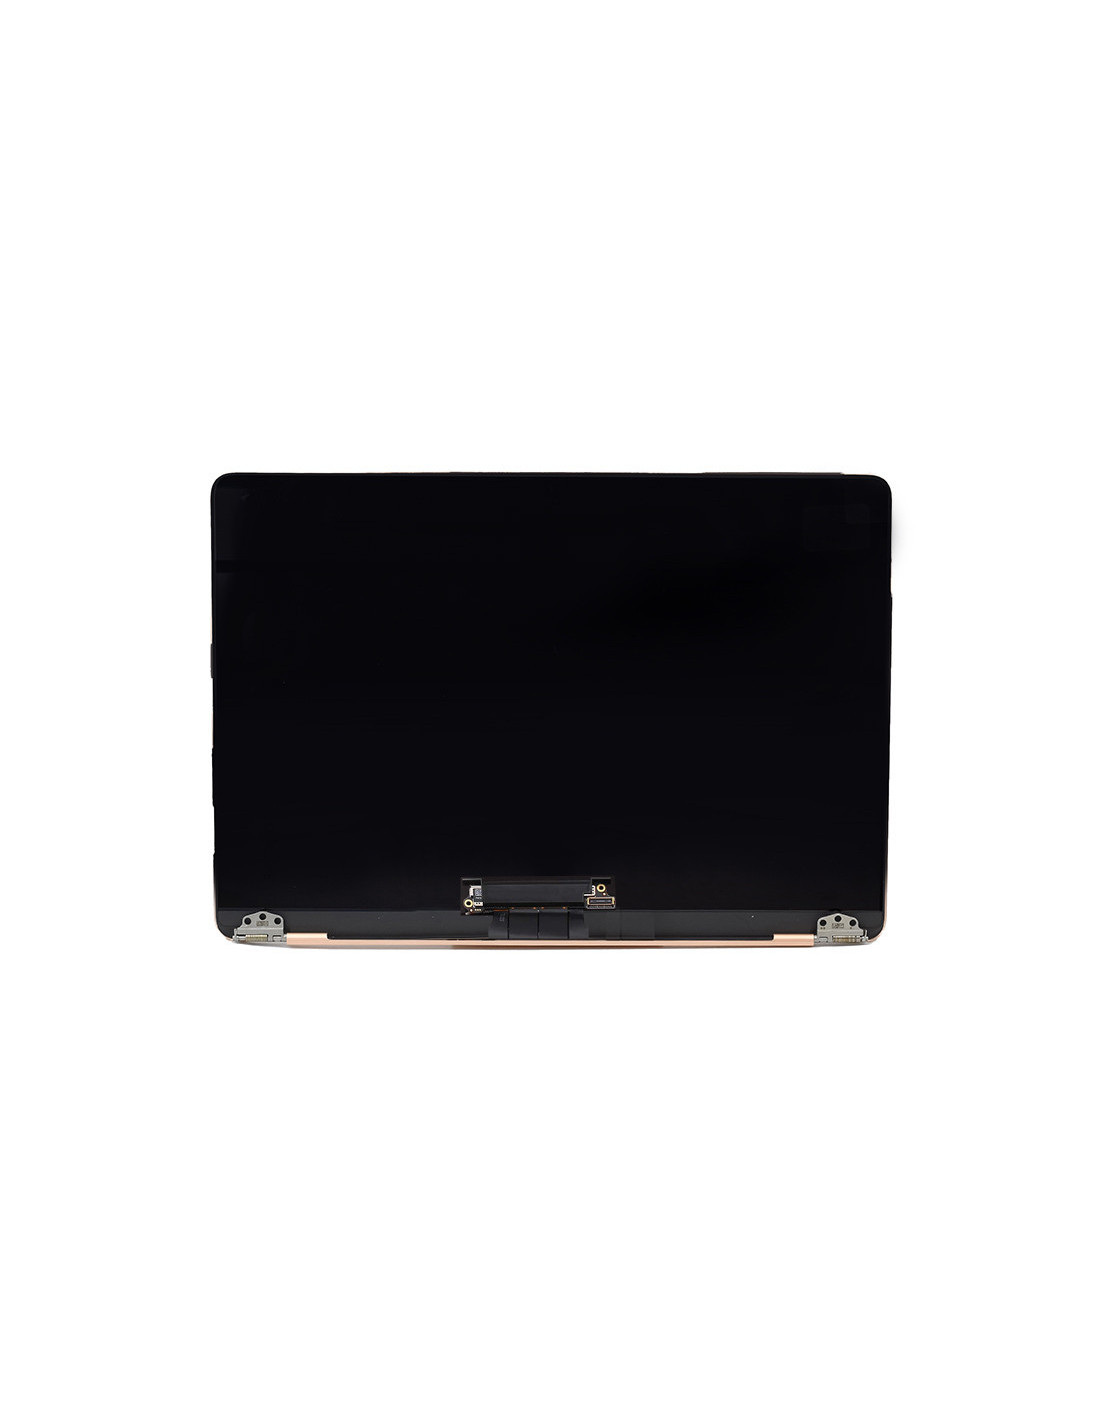
This Is A Complete Top-Lid Display Assembly For The 12-Inch A1534, Supplied In Rose Gold And Built To Oem Quality Standards. It Arrives Fully Assembled With Retina Lcd, Front Glass, Aluminum Lid, Hinges, Clutch Cover, Facetime Camera, Antenna Set, And Display Flex Cable Preinstalled, So You Can Swap The Unit Without Panel-Level Work Or Rebonding.
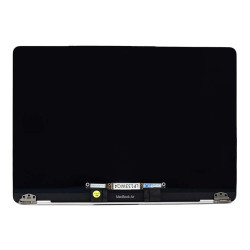
The 12ch Retina Panel Delivers 2304 × 1440 Resolution At 226 Ppi, 16:10 Aspect Ratio, Ips Viewing Angles, 60 Hz Refresh, And A Glossy Finish With Apple’s Anti-Reflective Coating. Brightness Is Rated To Typical Apple Levels For This Model Generation, With Uniform Led Backlighting And Factory Lamination For Sharp Text And Consistent Color Across The Screen.
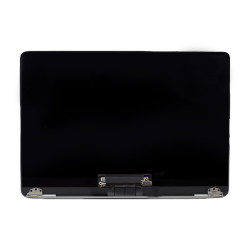
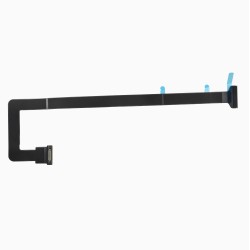
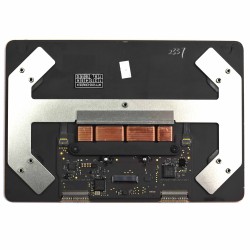
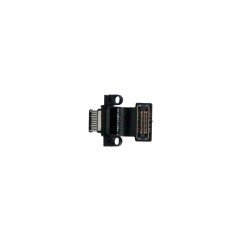
The Assembly Uses A Single Edp Display Interface On The Pre-Fitted Flex, Includes The Integrated Facetime Camera Module, And Houses The Dual Wi‑Fi Antennas Inside The Lid For Stable Wireless Performance. The Hinges Are Factory Aligned In The Lid Bracket, Providing Smooth Movement And Even Pressure Along The Clutch Cover Once Secured To The Base.
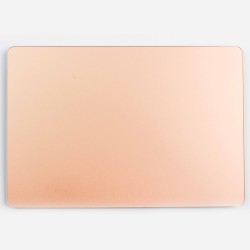
The Lid Is Cnc‑Machined Aluminum With Anodized Rose Gold Color Matching The Original Finish, And The Perimeter Gasket Is Seated To Protect The Glass Edge When Closed. Polarizer And Diffuser Layers Are Matched To Oem Spec To Maintain Uniformity While The Backlight Driver Is Tuned For Clean Low‑Brightness Performance Without Flicker Or Tint Shift.
Compatibility Covers Macbook A1534 Across 2015, 2016, And 2017 Model Years, Known As Macbook8,1, Macbook9,1, And Macbook10,1. Fit And Connectors Are Cross‑Year Compatible, While The Rose Gold Color Match Applies To 2016 And 2017 Units; 2015 Units Fit Electrically And Mechanically But Will Not Match Color.
In The Box You Get The Fully Built Display Assembly With Retina Panel And Glass, Rose Gold Aluminum Lid, Preinstalled Hinges, Clutch Cover, Facetime Camera, Wi‑Fi Antennas, Display Flex Cable, Camera Flex, And Factory Adhesives And Gaskets Where Applicable. No Transfer Of The Old Camera, Antennas, Or Hinge Barrels Is Required, Which Reduces Bench Time And Risk.
Power Down The Macbook, Disconnect The Battery Before Display Removal, And Use Esd Precautions Throughout. Remove The Bottom Case (P5 Pentalobe), Isolate Power, Loosen The Hinge Screws (T5) Evenly, Release The Antenna Bracket, Unplug The Display Flex From The Logic Board, And Lift The Old Lid. Mount The New Assembly, Align The Hinges Flush To The Rear Edge, Tighten Screws Gradually In A Cross Pattern, Route The Flex Exactly As Original, And Refit The Antenna Bracket Without Pinching Cables. Avoid Over‑Torque And Do Not Touch The Polarizer Or Inner Gaskets.
Before Final Closure, Run A Full Check: Power On To Test Backlight Uniformity, Dead Pixels, And Color Consistency On Solid Backgrounds; Verify Sleep‑Wake With The Hall Sensor; Open Facetime To Confirm Camera Output; And Check Wi‑Fi Rssi To Confirm Antenna Continuity. Use Low‑Strength Threadlocker If Required By Your Workflow, Wipe Down For Dust, And Apply New Bottom Case Adhesives Where Needed. The Assembly Ships In Protective Film, Foam, And An Anti‑Static Bag With Corner Protection So It Reaches Your Bench Ready To Install.
The screens are covered with a 2-year warranty. The warranty does not cover man-made damage.
You might also like


