


Reliable Power Source For Your iPhone 13 Pro Max
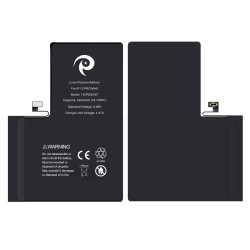
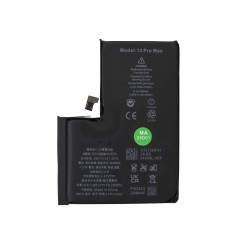
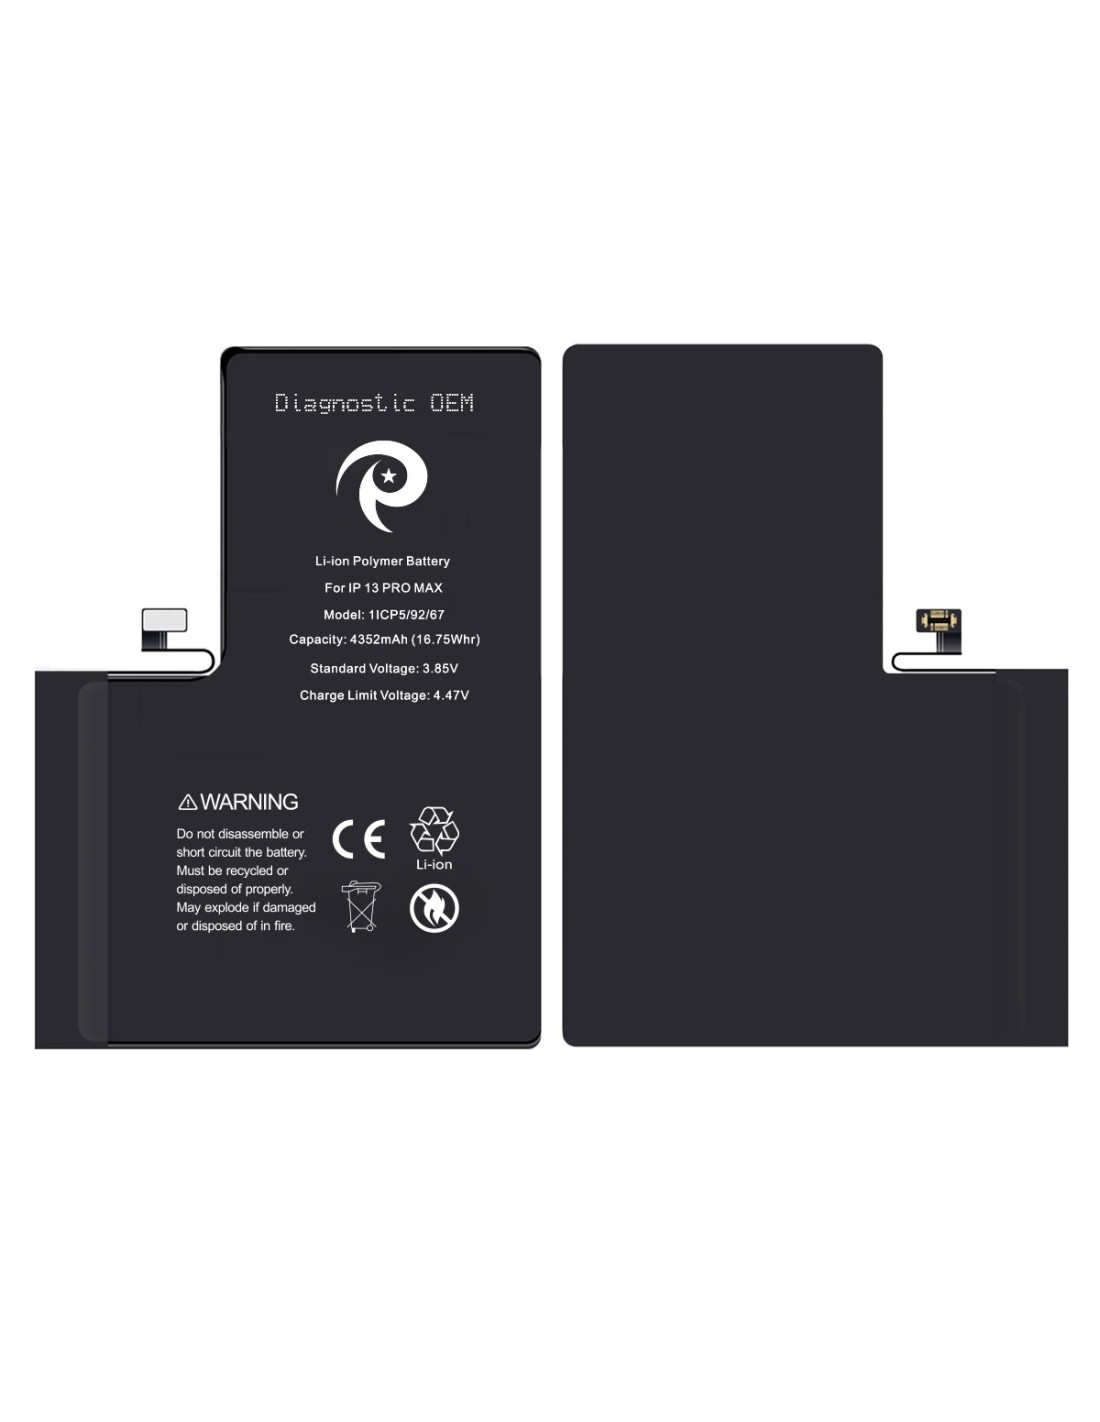
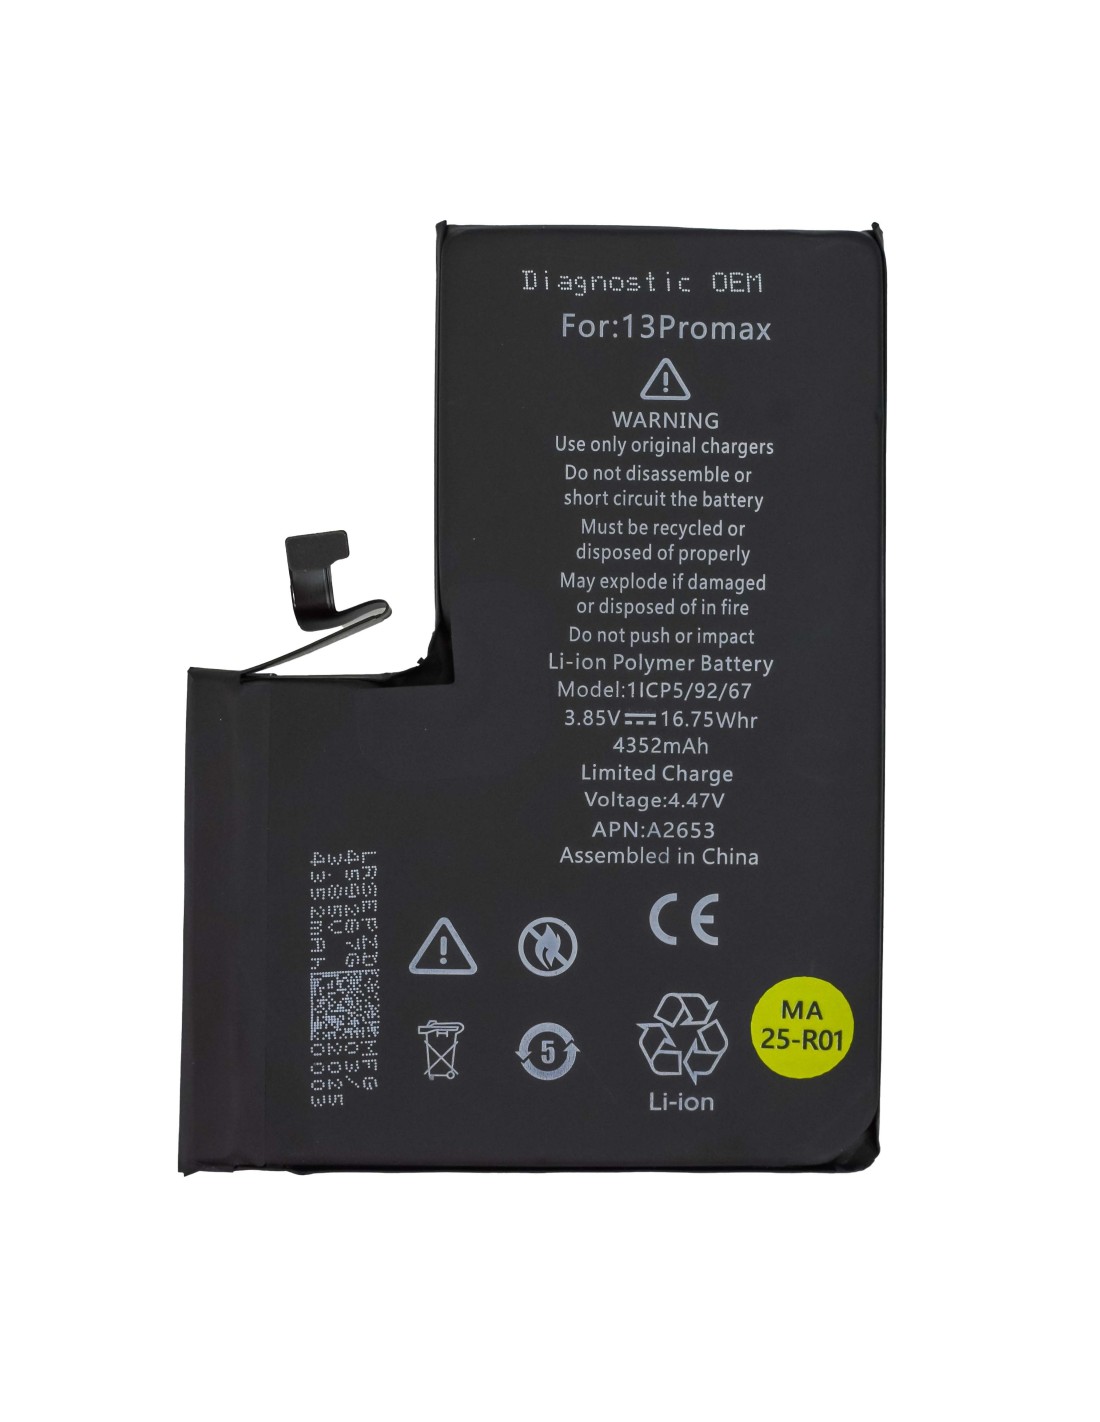
The iPhone 13 Max - Diagnostic OEM Battery is the essential replacement part to power your device efficiently. With a significant capacity of 4352mAh, lithium-ion polymer battery is designed to ensure your phone operates at peak performance for longer periods. It's the perfect choice for technicians and repair shops to meet the high standards of Apple product users.
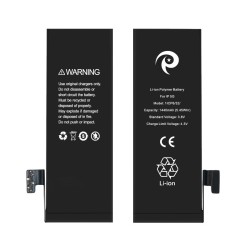
The battery operates at a standard voltage of 3.85V and a limit voltage of 4.47V, which makes it compatible with the specifications laid out by Apple for the iPhone 13 Pro. These precise voltage settings ensure that the battery not only delivers effective energy but also maintains the phone’s safety and operational integrity. This product OEM design provides a seamless replacement, reducing repair time and ensuring customer satisfaction.
Quality Assurance & Safety Features
Safety is paramount with the iPhone 13 Pro Max - Diagnostic OEM Battery. It comes equipped with comprehensive safeguards against over and overheating, thereby prolonging the life of the battery and ensuring user safety. Such features are crucial for repair shops focused on delivering quality service without on safety.
The battery adheres to stringent safety certifications, including CE and RoHS compliance. This means it's environmentally friendly complies with various international safety standards. The battery's design avoids potential hazards like short circuits and ensures a stable and dependable power supply, making a trusted choice for repair professionals.
Effortless Replacement And Optimal Performance
With the OEM Battery, replacing the iPhone 13 Pro Max's battery becomes an effortless task. Designed for easy installation, it allows repair technicians to swiftly and service devices. This can streamline your operations, reducing downtime and increasing client turnover.
By choosing the iPhone 13 Max - Diagnostic OEM Battery, you ensure optimal performance and longevity for your client’s devices. This high-quality replacement battery provides the reliable energy consistency needed for seamless phone usage, making it an indispensable tool for any repair or refurbishment operation.


