


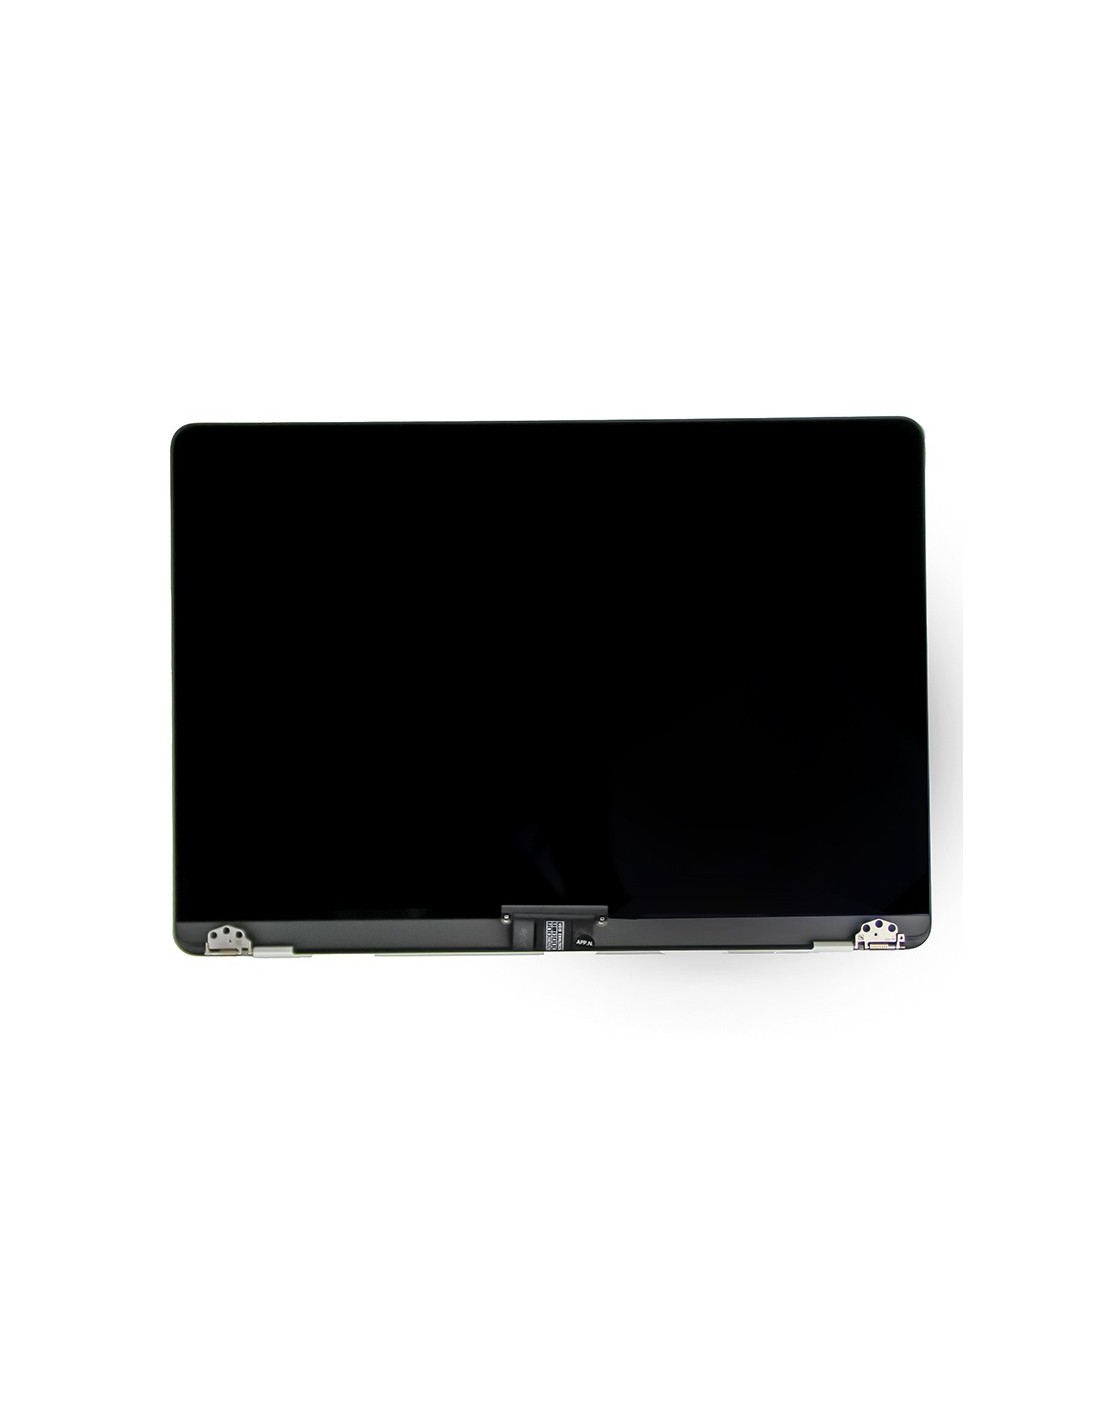
OEM Quality Macbook A3240 Screen In Silver
Choose Macbook Complete A3240 Screen - Silver - OEM Quality when you need a full lid replacement that installs quickly and restores the original look and function. Fits model = A3240 Delivered as a closed display unit in silver with the panel, bezel, and top cover already aligned for a clean fit.
Each assembly is checked for pixel anomalies, uniform brightness, and connector reliability before packing. The silver anodized housing matches the factory tone for a seamless result on mixed-batch fleets. The design retains the original screw pattern and hinge placement so you can swap the unit without bracket modifications or chassis milling.
Complete Silver Display Assembly For Faster Bench Work
The assembly arrives with the display panel bonded to silver upper case, hinges pre-installed, and key display flexes attached for a straightforward fit. The integrated camera area and top bezel components are already seated, minimizing small-part transfers in most jobs and helping you keep throughput high.
No micro-soldering is required because the board-to-display connectors are preserved. You connect, align, torque the hinge screws to shop practice, and close up for testing. The precise lid geometry supports accurate alignment, reduces reopens, and keeps turnaround tight for depot and field repairs.
Compatibility And Key Details Macbook Repairs
Fits model = A3240. Finish is silver. Quality grade is OEM. Assembly type is complete display with top cover and hinges pre-mounted. The part is suited for repair shops and refurbishing teams that need a dependable like-for-like replacement that matches original dimensions, finish, and mounting points.
Every unit undergoes visual and functional screening for image stability, color uniformity, backlight consistency, and cable integrity. Protective films and corner guards keep the glass and housing safe in transit so the assembly can go straight to the bench. Clear labeling for color and compatibility streamlines picking and inventory across multiple locations.
Installation Notes And Service Tips
Power down the device, disconnect the battery, and discharge residual power before handling display connectors. Support the hinges while loos and tightening to prevent stress on the clutch area. Verify cable routing and foam pads so there is no pinch or abrasion when the lid closes.
Test the panel output and camera preview on the open chassis before final screwdown. Transfer any model-specific brackets, screws, or trims from the original unit if your workflow requires them. Document the part swap and serial tags in your system to maintain traceability across European service sites and warranty processes.
The screen is covered with a 2-year warranty. The warranty does not cover man-made damage.


