


High-Quality Diagnostics With iPhone Air - Black
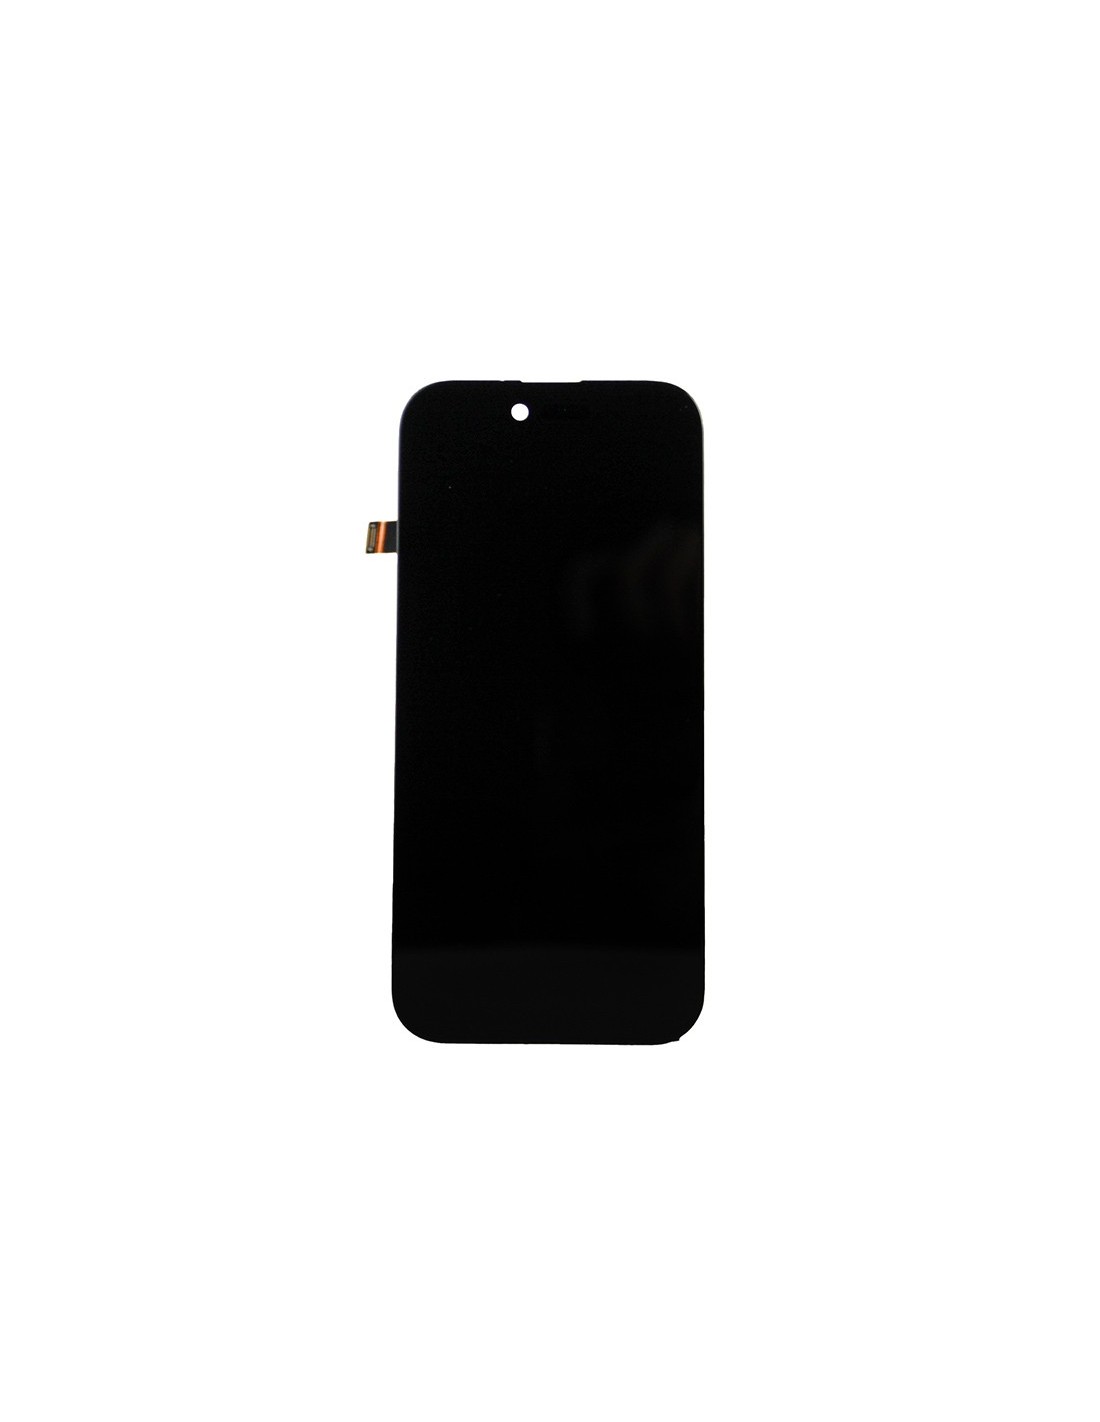
The iPhone Air - Black - Pulled Diagnostic Screen is a must-have for repair technicians and refurbishers seeking precision in their assessments. Designed to streamline repair processes, this diagnostic screen allows you to perform in-depth checks without hassle. It's perfect for quickly identifying screen-related malfunctions, ensuring that you give your customers the best service possible. The black finish not only offers a sleek aesthetic but also enhances visibility during, allowing you to spot issues more efficiently.
Constructed to align perfectly with iPhone Air devices, this screen guarantees compatibility and ease of use. In repair and refurbishment fields, reducing diagnostic times translates to increased productivity and customer satisfaction. By integrating this into your toolkit, you ensure a high-quality standard in your service offerings.
Optimize Repair Efficiency And Performance
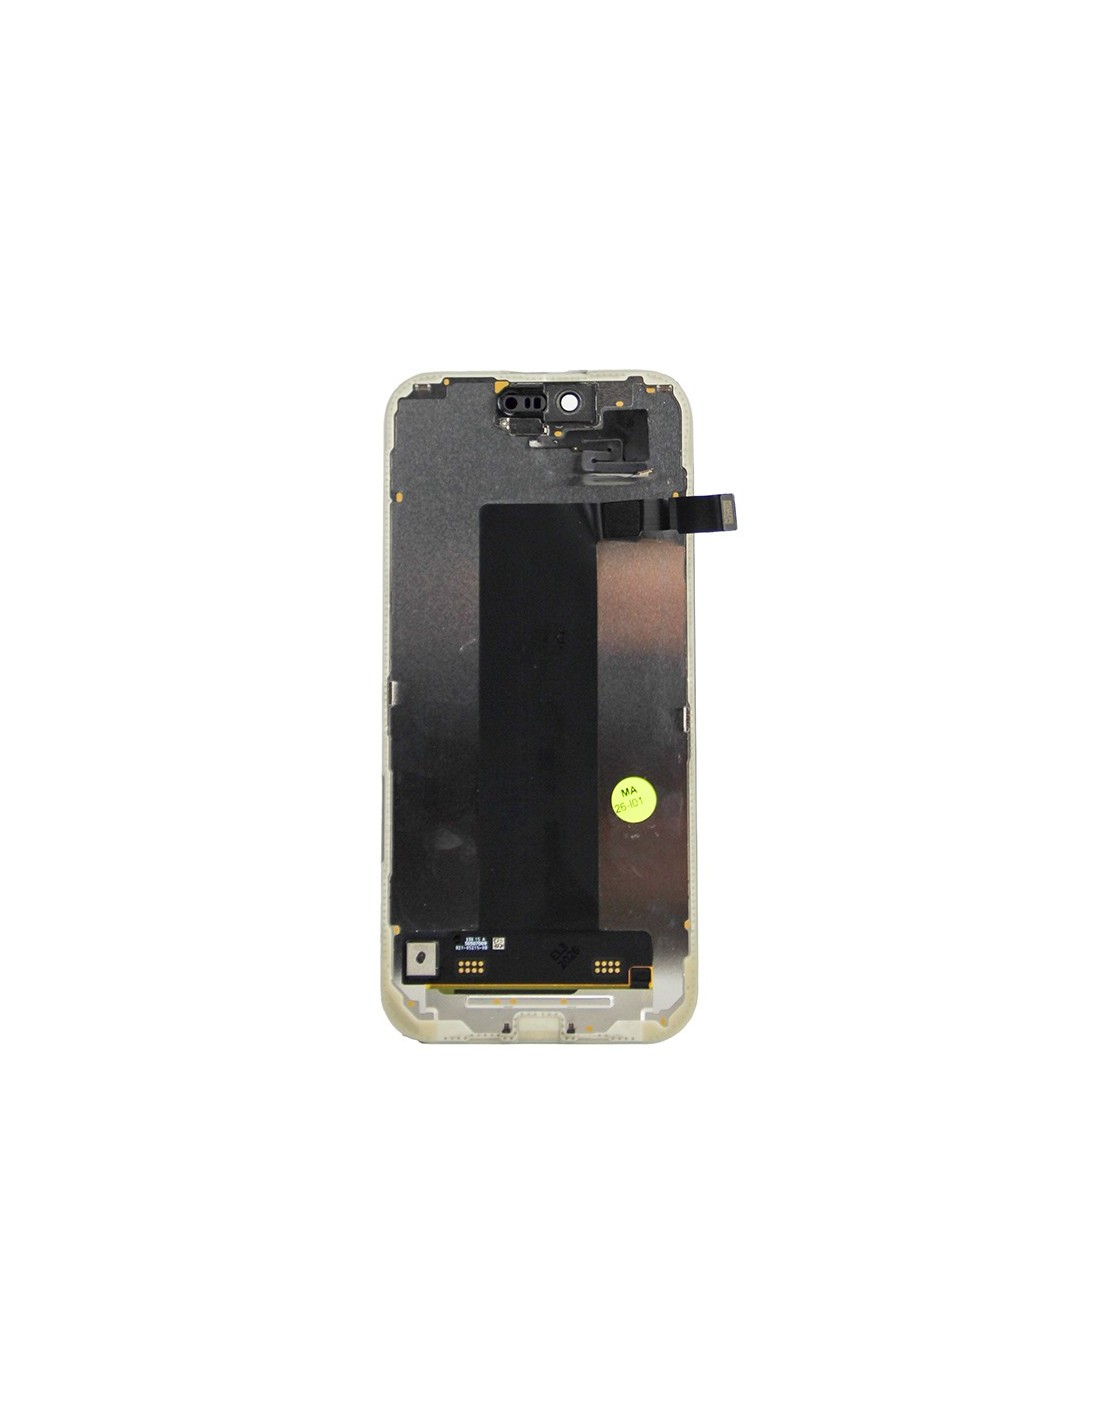
Efficiency is at the core of the iPhone Air - Black - Pulled Diagnostic Screen’s design The screen has been meticulously tested to deliver consistent, reliable performance. Its robust structure withstands repeated usage, a vital feature for busy repair shops handling high volumes of devices. Installing and using this screen is user-friendly, minimizing training time for your technicians. The saved during diagnostics directly impacts your service turnaround time, allowing you to serve more customers without compromising quality.
Whether you’re diagnosing for screen replacements, pixel issues, or touch sensitivity problems, this screen provides the necessary feedback to make informed decisions. It an invaluable resource in maintaining a reputation for quality and reliability. Your customers will appreciate the improved accuracy and speed of repairs, further establishing your business’s credibility and boosting customer loyalty.