


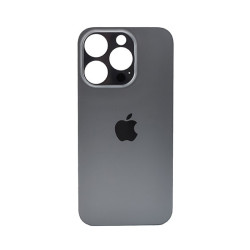
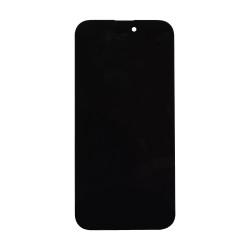
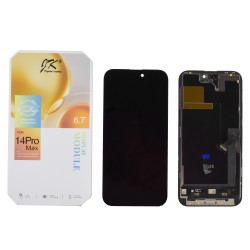
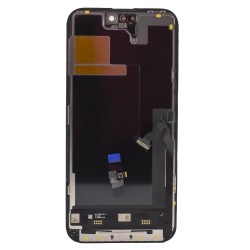
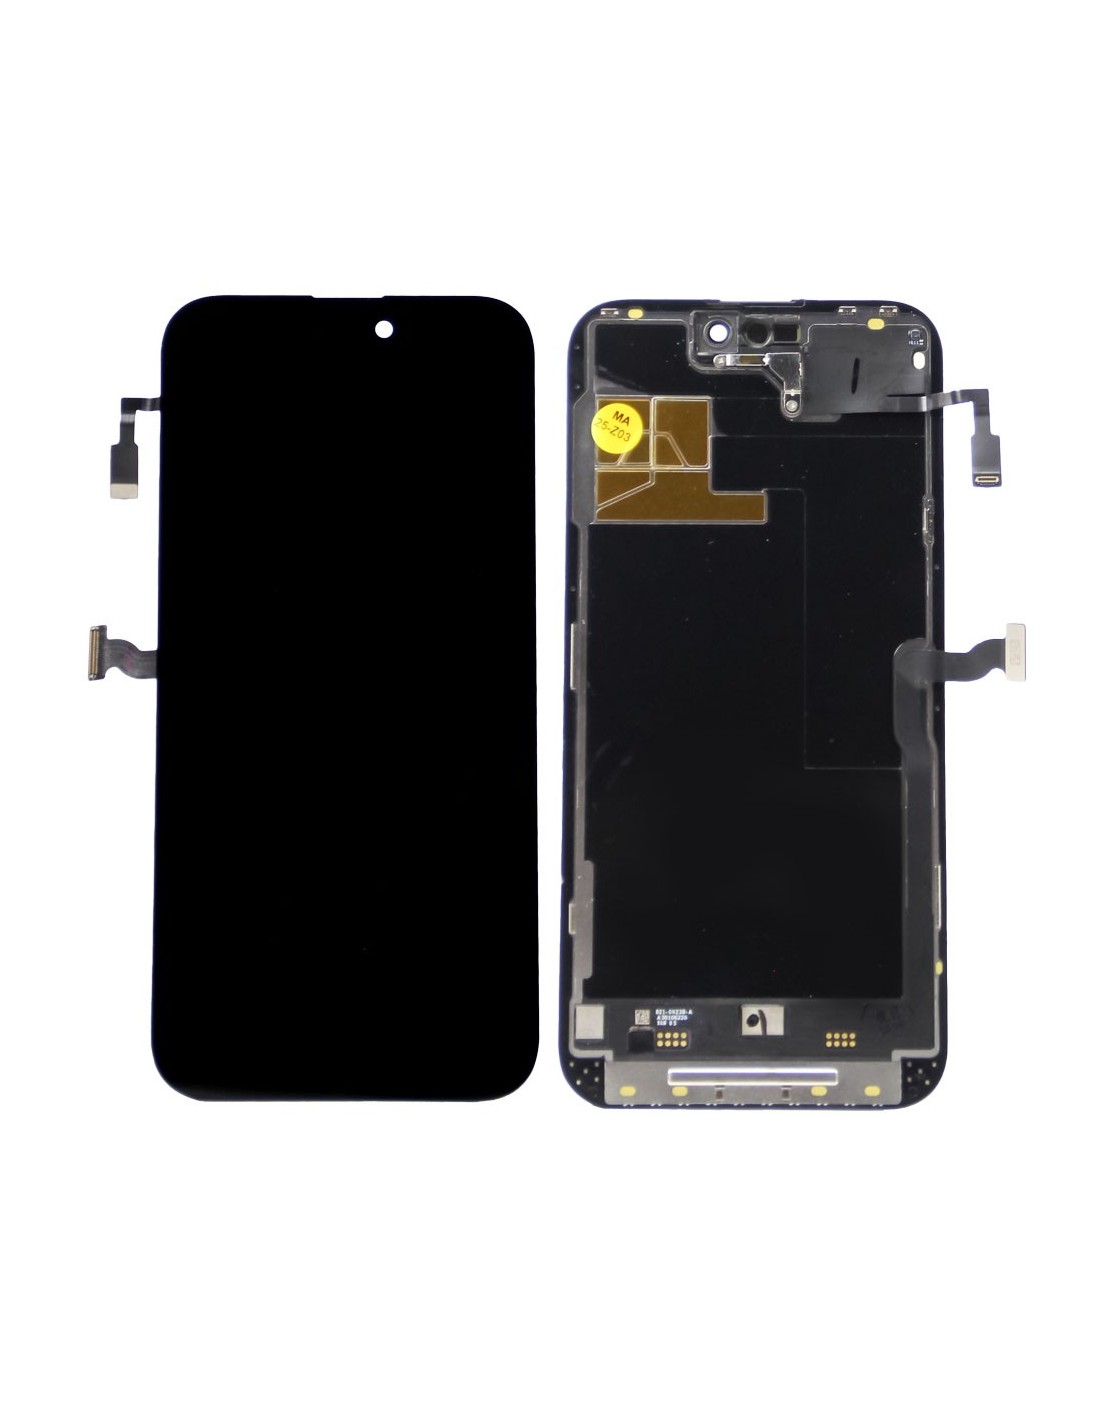
iPhone 14 Pro Max - Black - Superior Screen Replacement
ThePhone 14 Pro Max - Black - Pulled Diagnostic Screen provides a high-quality replacement option for your device. Ideal for repair shops andishing companies, this replacement screen ensures seamless functionality and a pristine appearance. Utilizing OEM-grade materials, the screen offers a perfect fit and finish maintaining the original aesthetic of the iPhone 14 Pro Max.
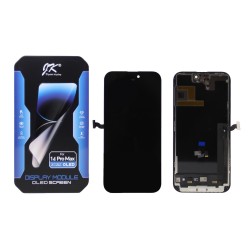
The pulmonar diagnostic screen comes pre-assembled with JK FHD 120HZ technology, ensuring vibrant colors and smooth display performance. This makes it an excellent choice for providing customers with a premium solution. With precise adherence to Apple's specifications, this screen delivers unmatched reliability and longevity, ensuring customer satisfaction.
Optimal And Compatibility
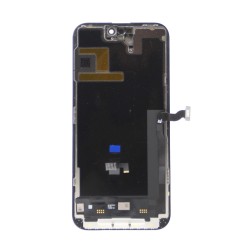
Designed for seamless compatibility, the iPhone 14 Pro Max screen integrates flawlessly with your device’s hardware. presence of an advanced multi-touch sensor replicates original responsiveness, allowing for unmatched fluidity in use. The repair process is straightforward, significantly downtime in busy repair shops.
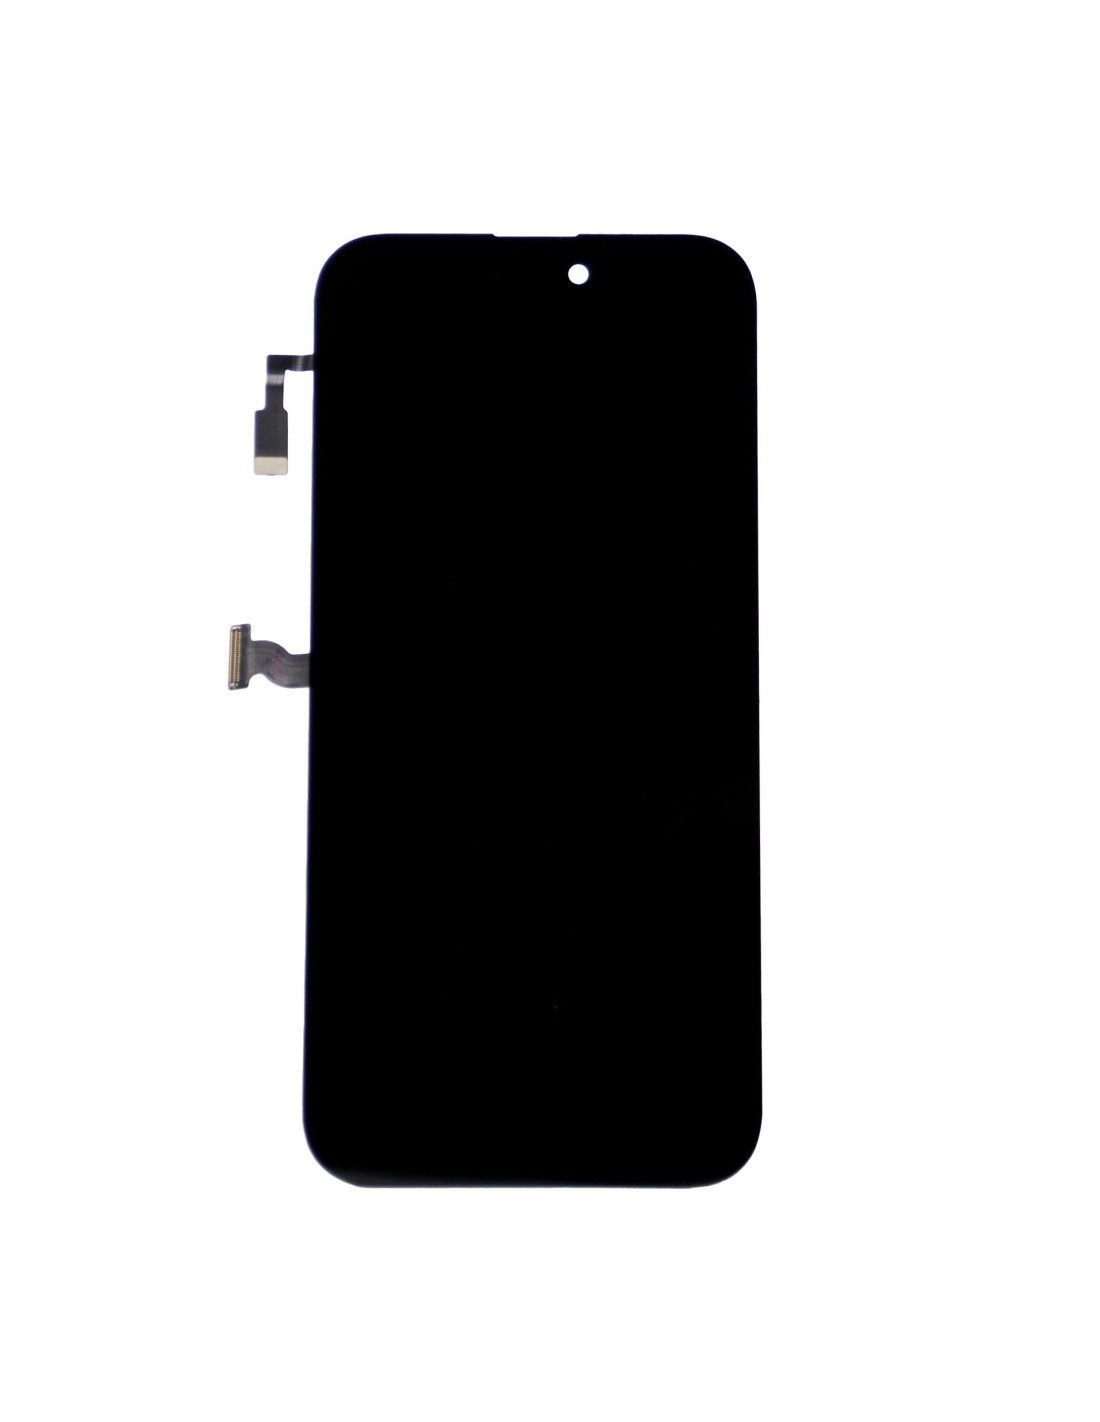
The screen's black color provides a sleek and modern look, aligning with the device's premium design Whether replacing a cracked screen or upgrading a client's device, this component ensures that the visual and functional quality remains uncompromised. Additionally, energy-efficient JK OLED technology reduces energy consumption, contributing to better battery life.
Durability And Installation Ease
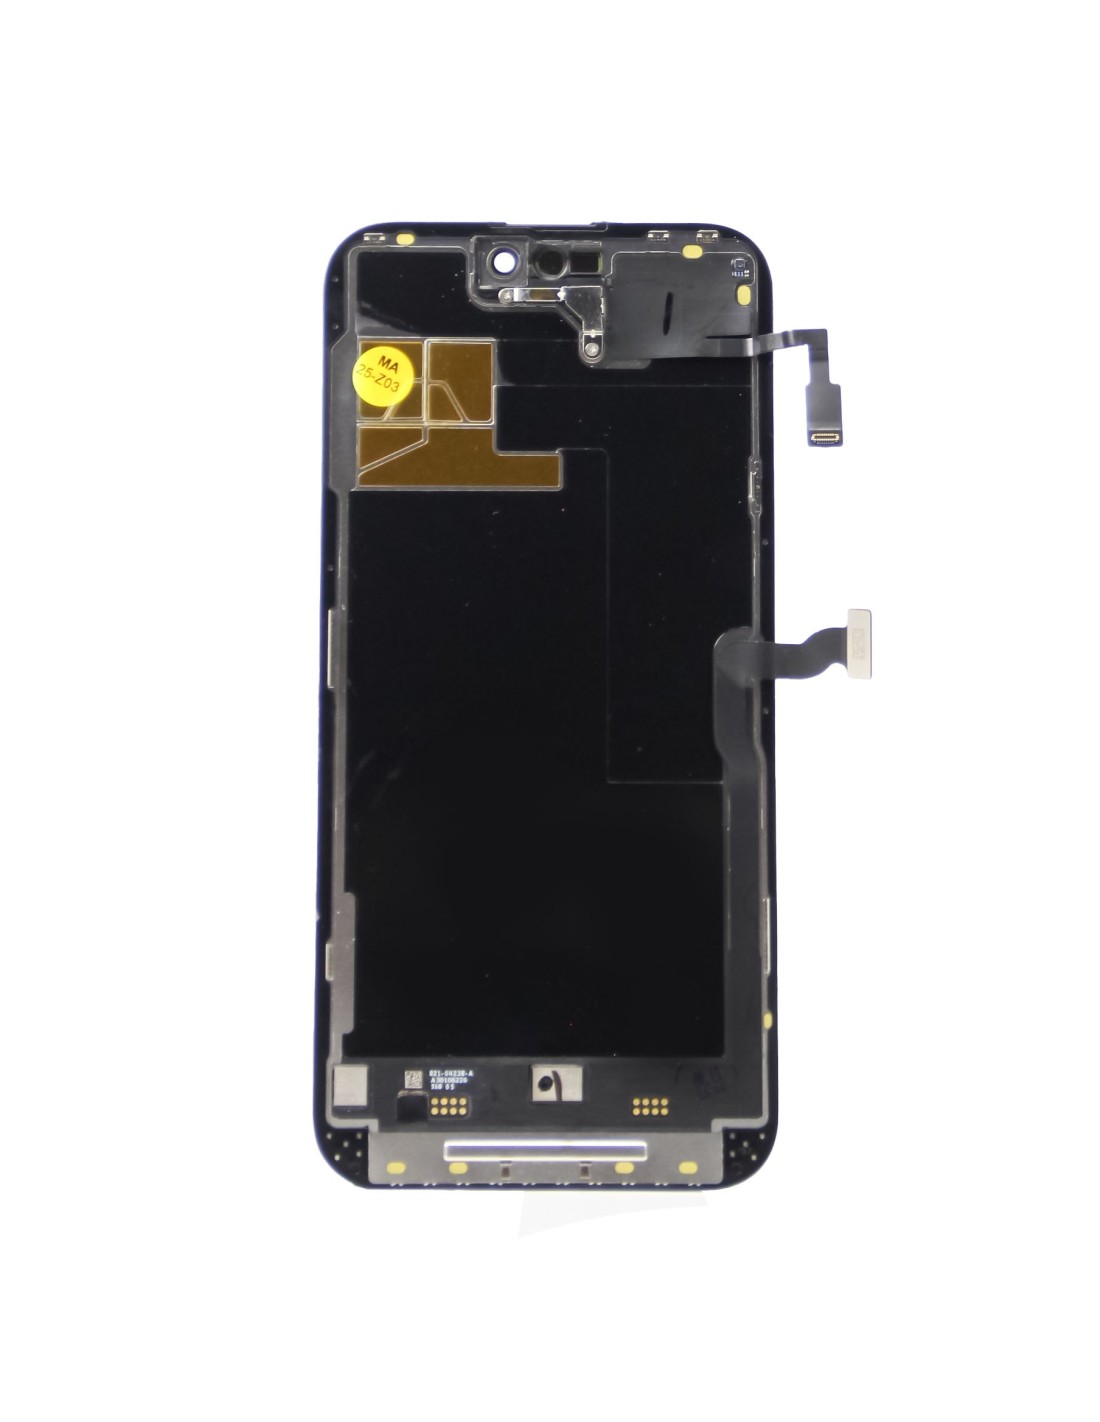
Built for durability, the replacement screen resists scratches and abrasions, extending its lifespan and preserving the overall quality of thePhone 14 Pro Max. Its protective coating ensures resistance to fingerprints, making it easy to maintain. The screen's robust construction protects against damage, an essential feature for environments dealing with frequent repairs and refurbishments.
Installation is simplified due to pre-attached components, making an efficient choice for technical environments focused on rapid turnaround times. With comprehensive compatibility and easy installation, this diagnostic screen reduces possible errors during repairs ensuring that your service remains top-notch.


