


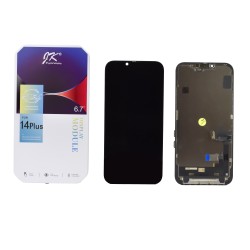
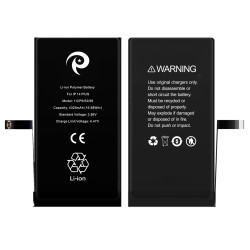
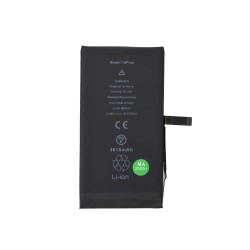
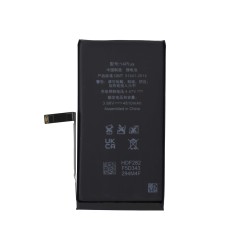
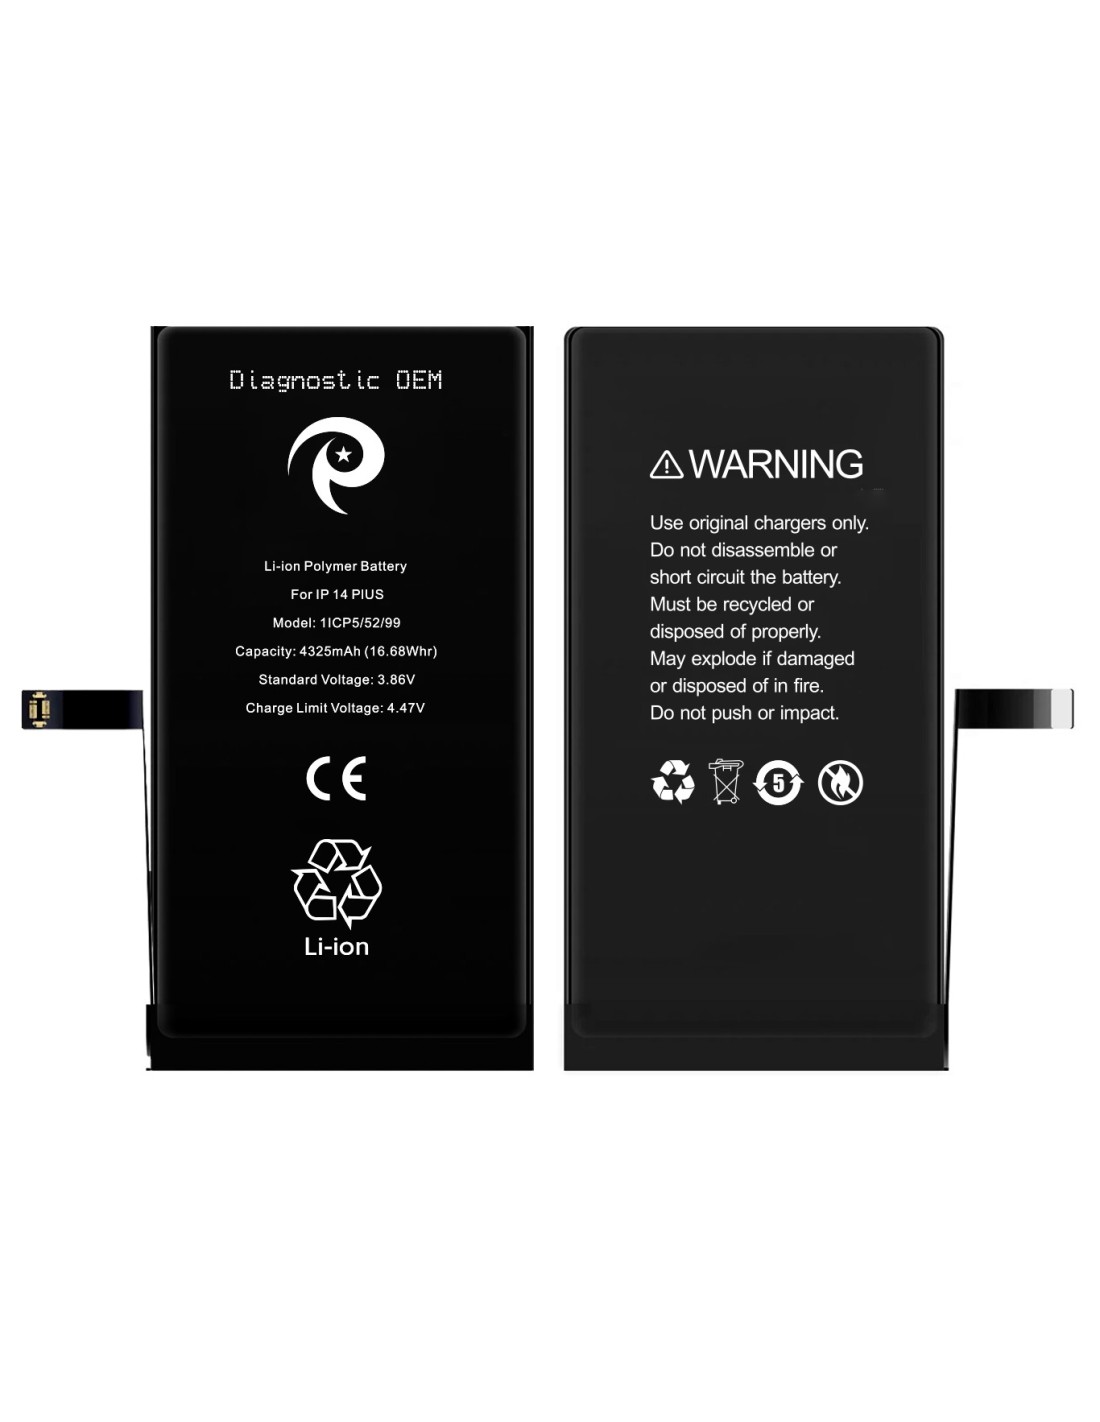
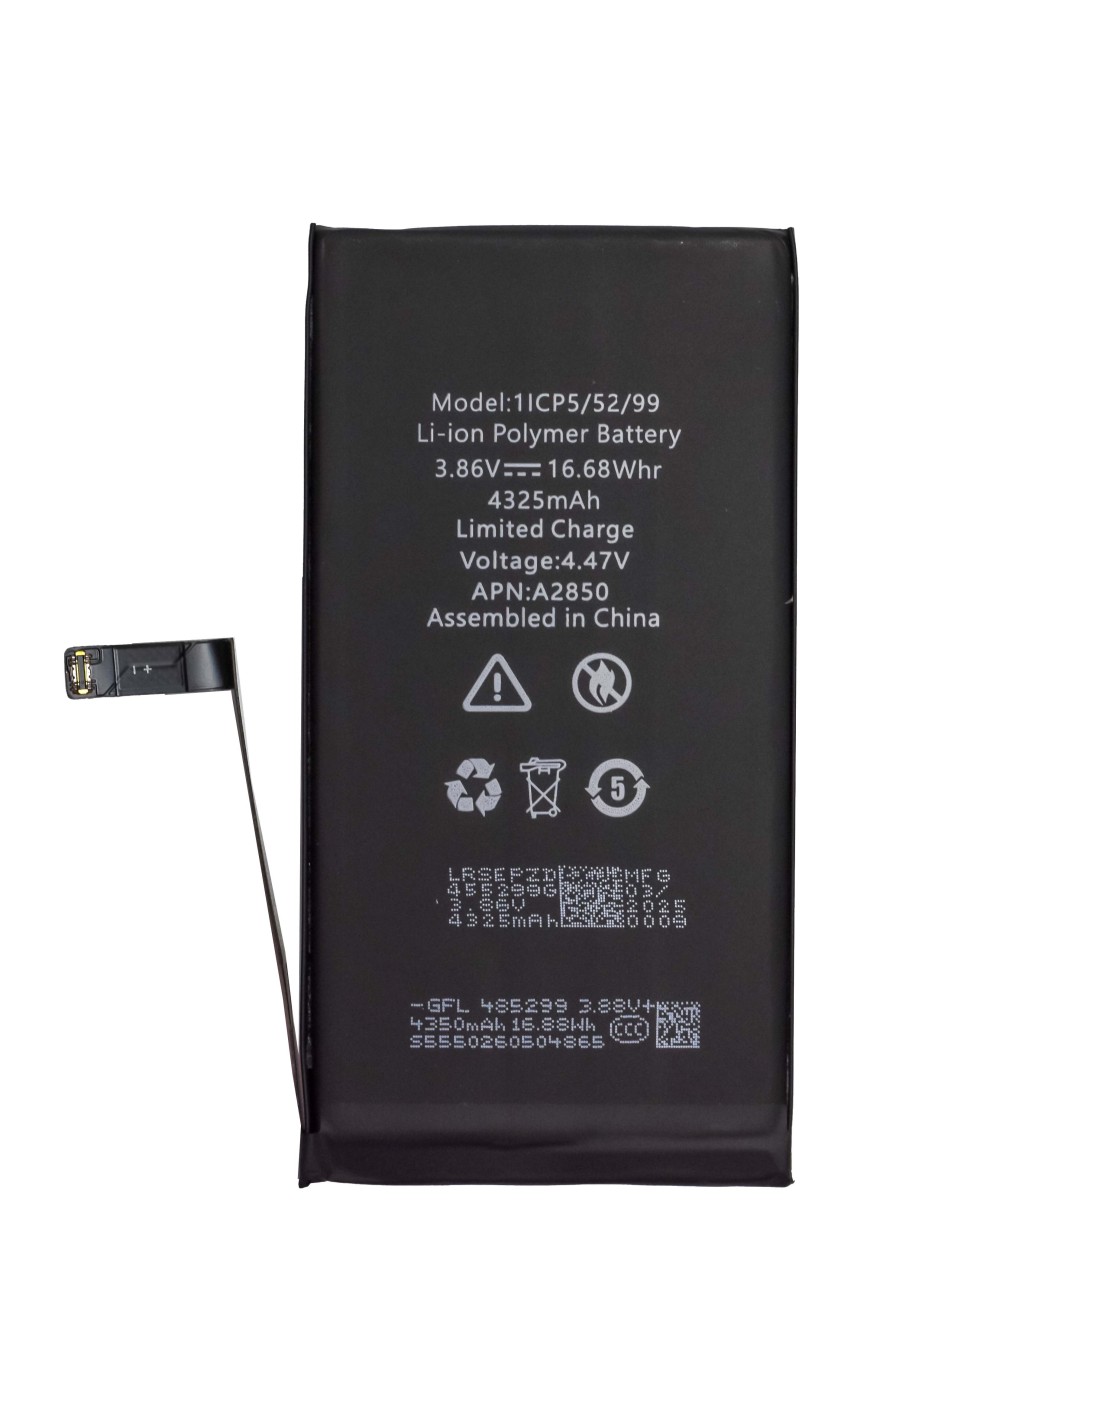
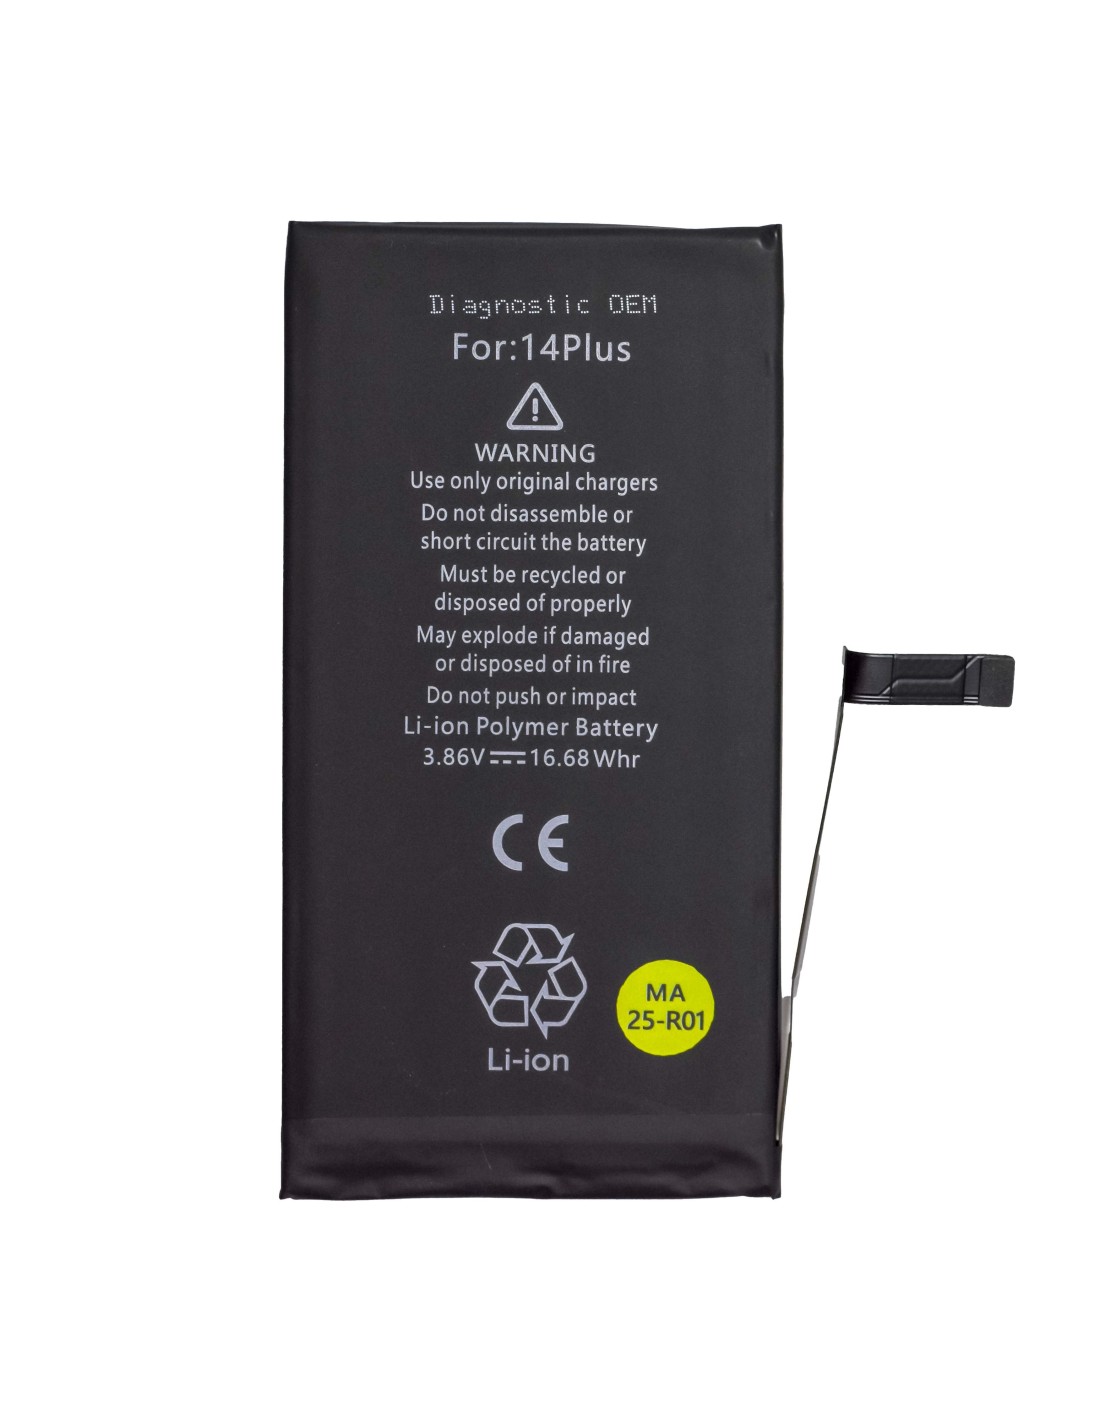
The iPhone 14 Plus - Diagnostic Battery is engineered to provide optimal performance and reliability for your device. With a capacity of 4325mAh (16.68Wh and a standard voltage of 3.86V, this battery ensures your iPhone operates at its best. It's specifically designed to meet energy demands of the iPhone 14 Plus, letting you stay connected and productive throughout the day without frequent recharges.
Safety is paramount when it comes to battery replacement, and the iPhone Plus - Diagnostic OEM Battery prioritizes this with robust safety measures. It includes features to prevent overcharging and short-circuiting, safeguarding device against potential harm. Proper installation and usage, adhering to provided guidelines, ensure a secure user experience.
The design is for seamless integration with the iPhone 14 Plus, ensuring straightforward installation. This is particularly useful for repair shops and refurbishment businesses aiming to hassle-free, reliable battery replacements. Utilizing original chargers with this battery enhances its longevity and performance.
For phone and computer repair shops across Europe, the iPhone 14 Plus - Diagnostic OEM offers an efficient, cost-effective solution. Its OEM certification guarantees compatibility and quality, facilitating a service that meets customer expectations for performance and reliability. businesses can confidently include this battery in their inventory, knowing it aligns with Apple’s specifications and standards.
Furthermore, the relative affordability of the iPhone Plus - Diagnostic OEM Battery supports business goals by reducing operational costs while upholding service quality. Investing in this battery solution reflects a commitment to providing superior repair services with reliable.
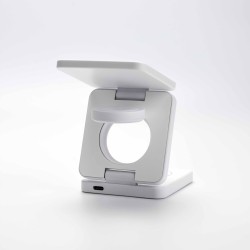
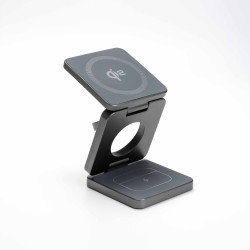
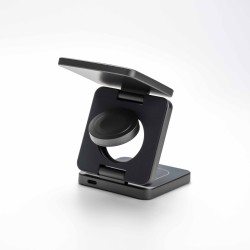
You might also like


